Quick Links:
What is the Rewind Protection Suite?
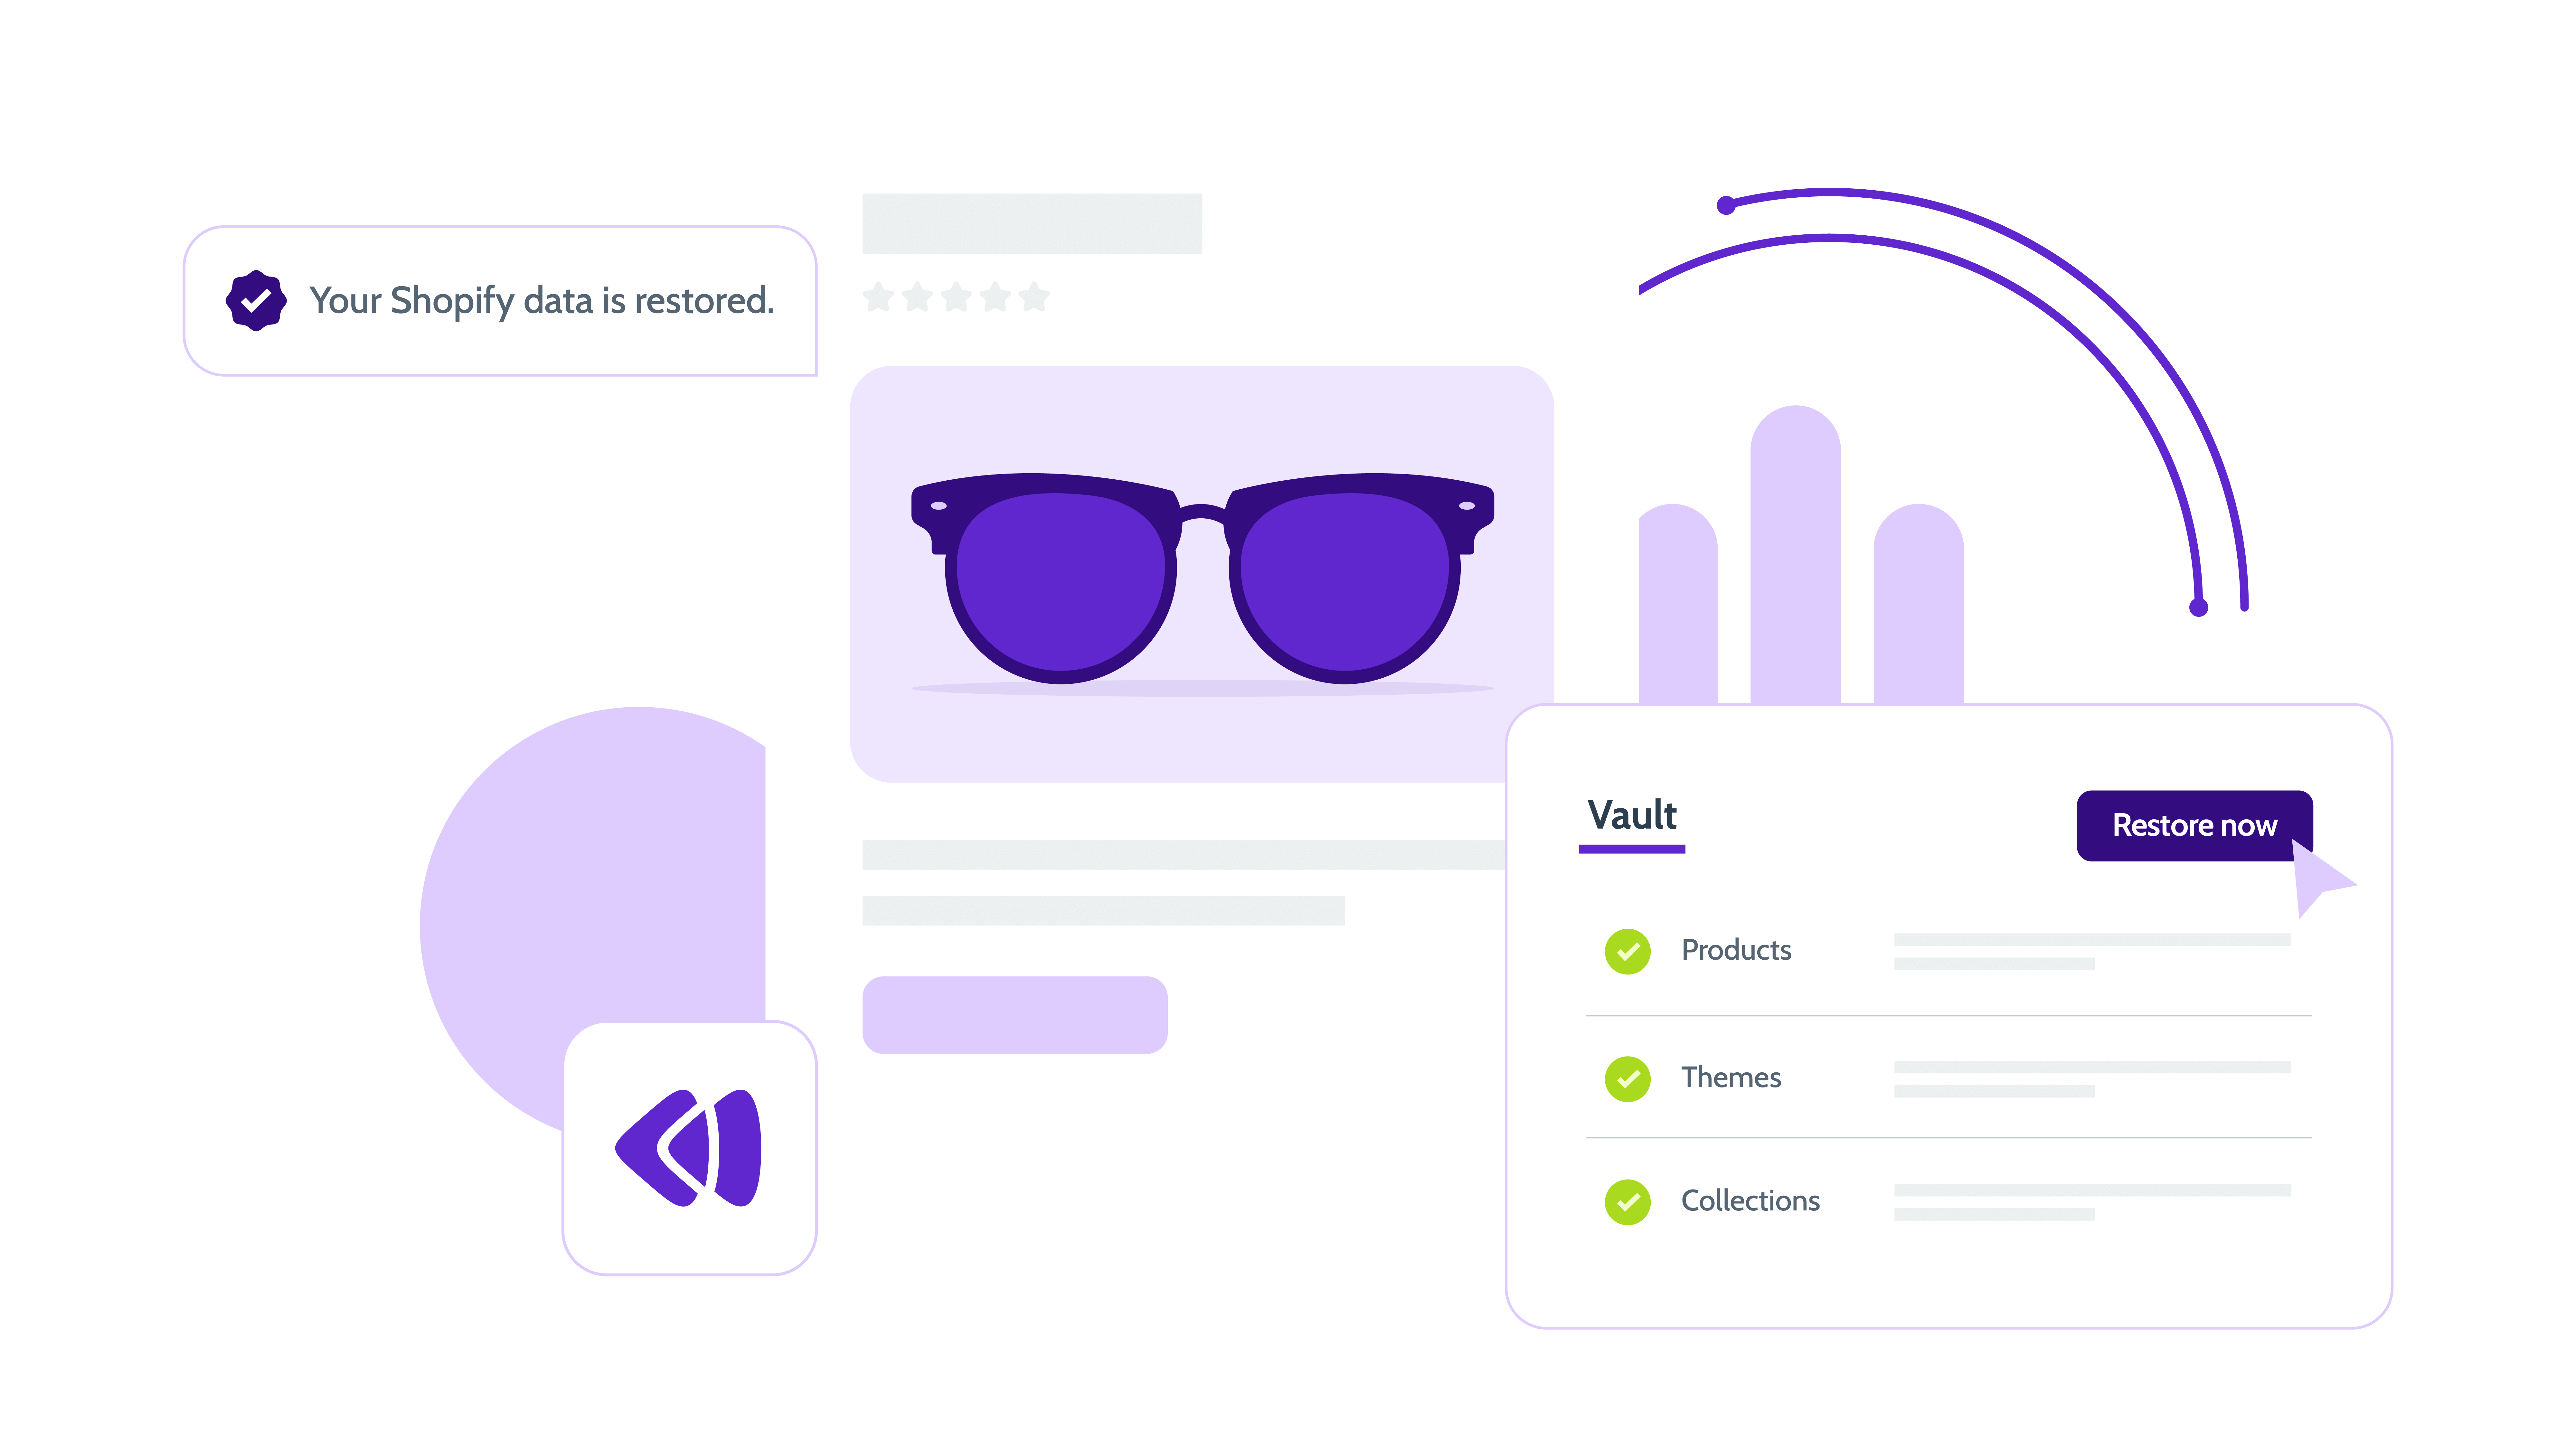
Backups
Automated Shopify backups, restored in seconds.
Recover your store data from automated, comprehensive, and real-time backups.
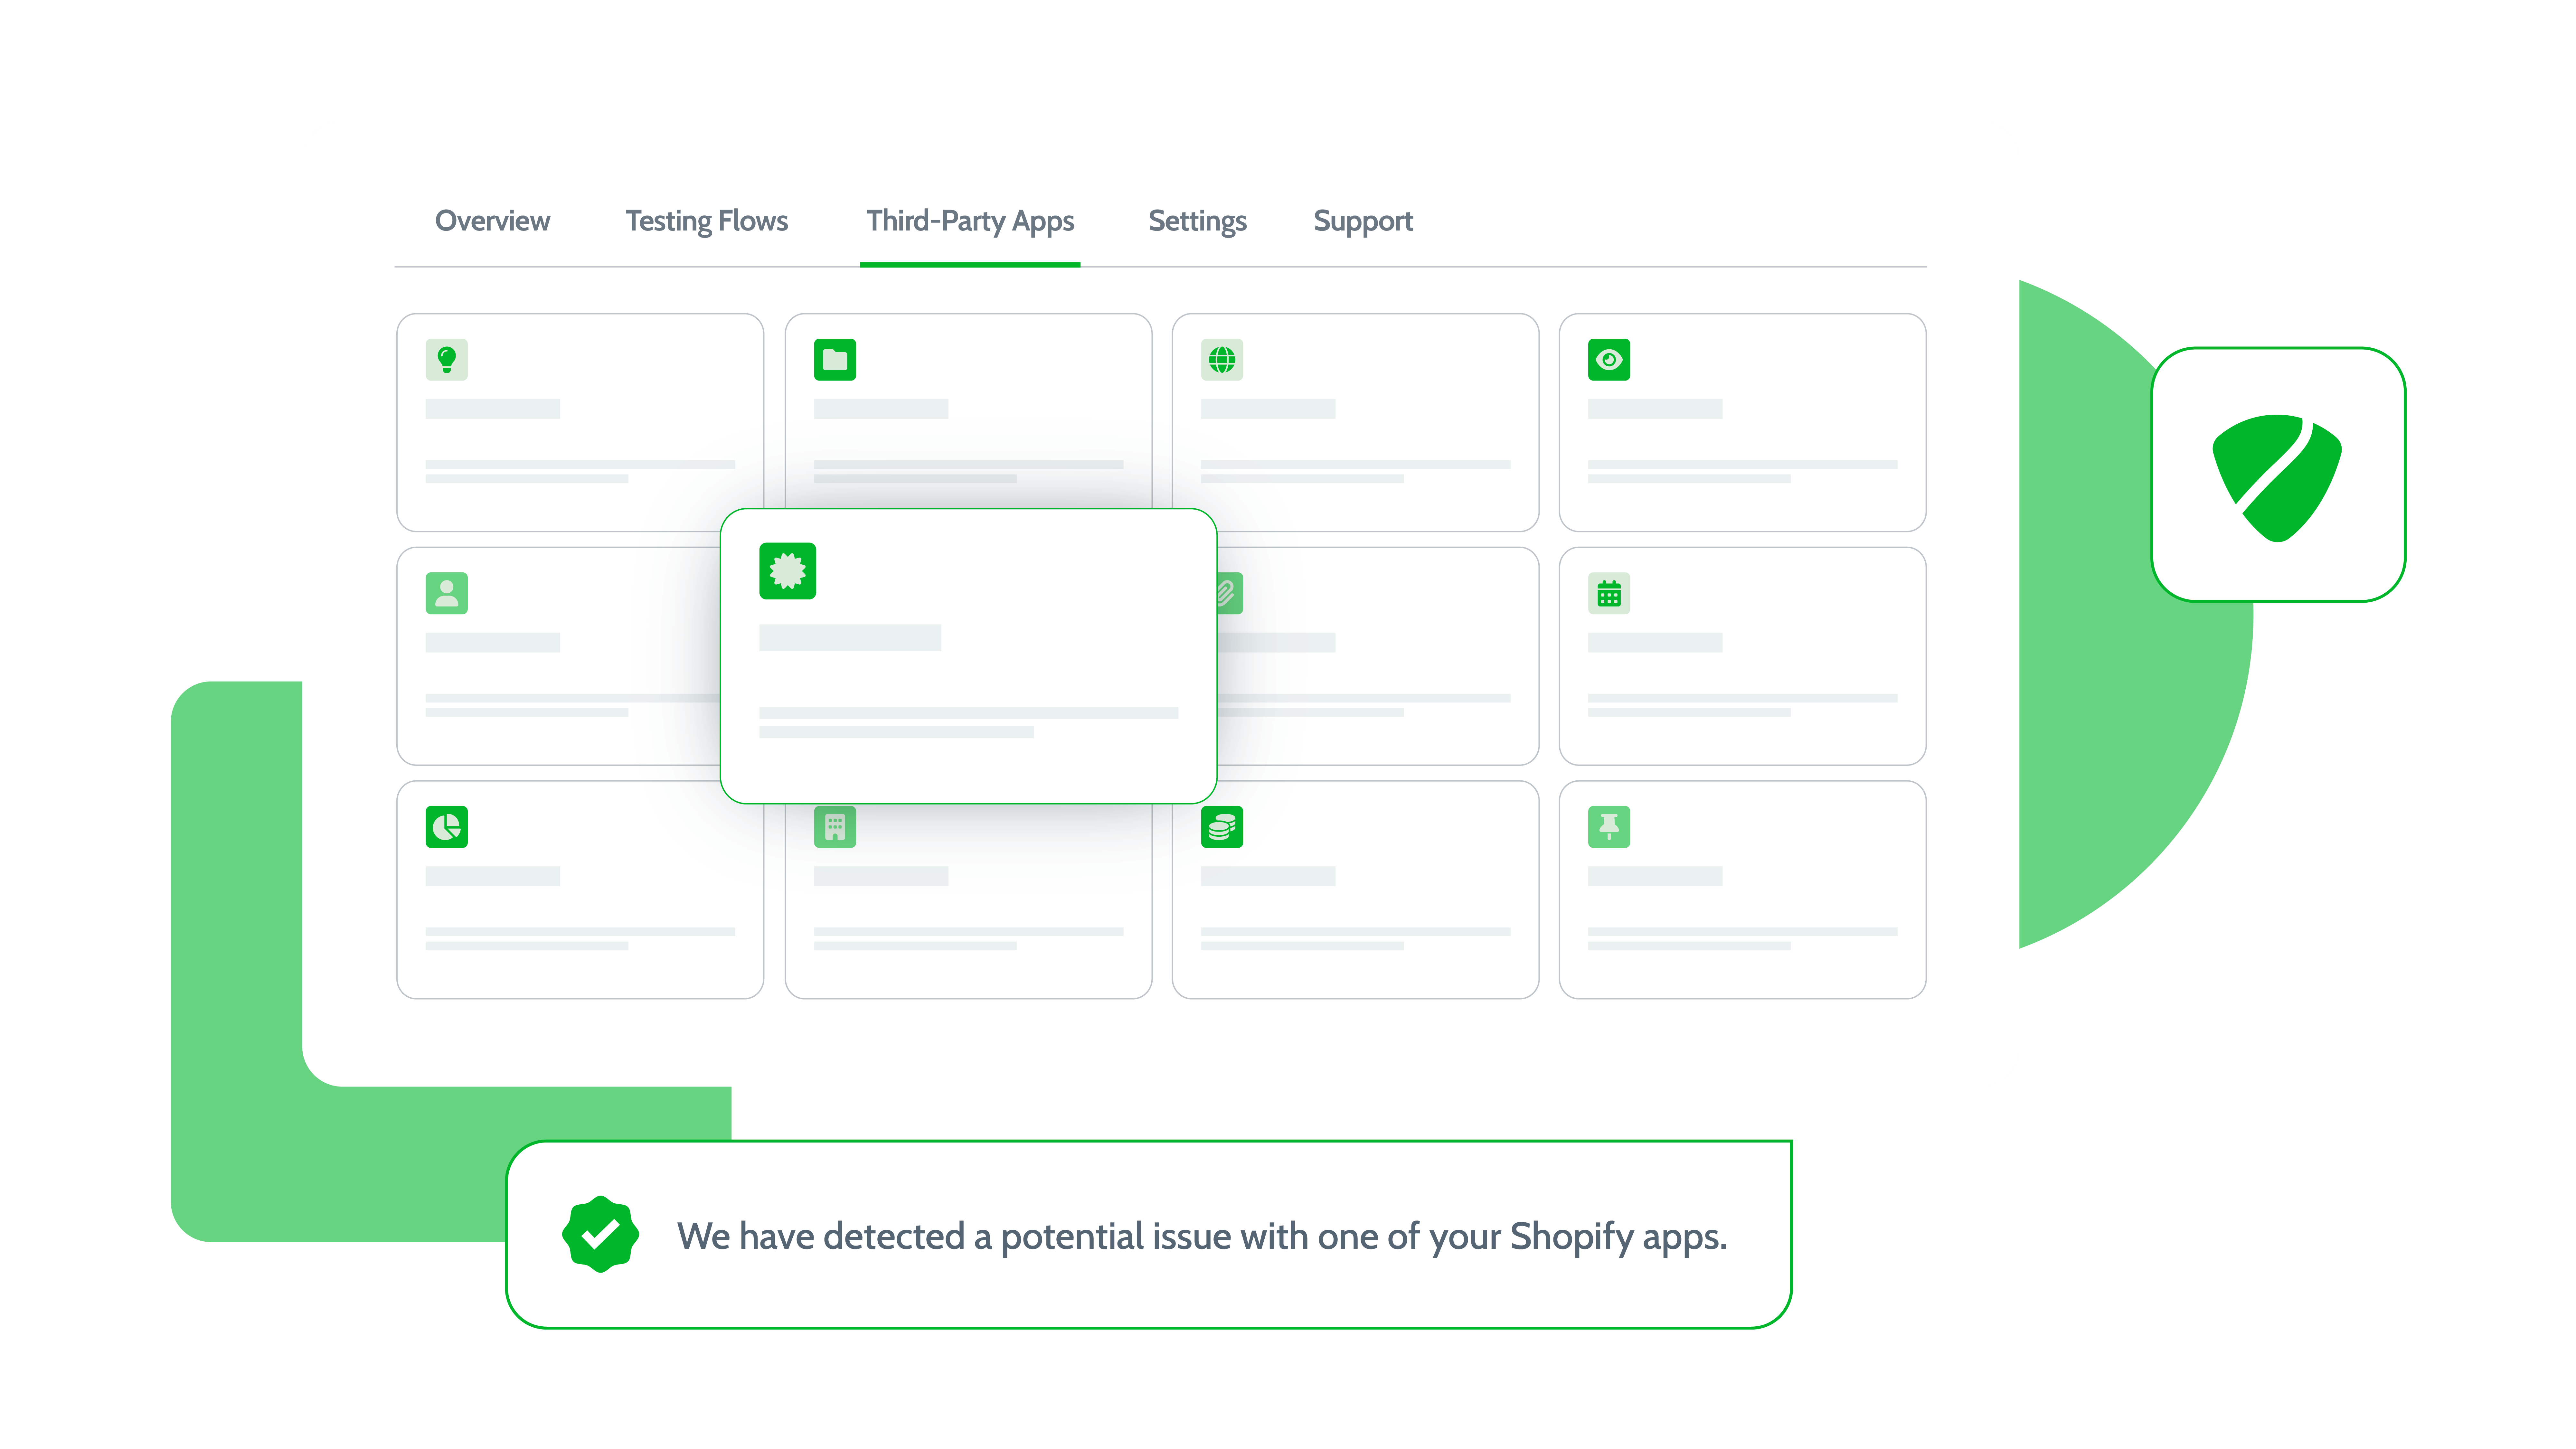
Monitor
Catch downtime or broken functionalities before they become lost revenue.
Actively monitor any impacts to your store’s performance, so you can act swiftly and keep your checkouts flowing.
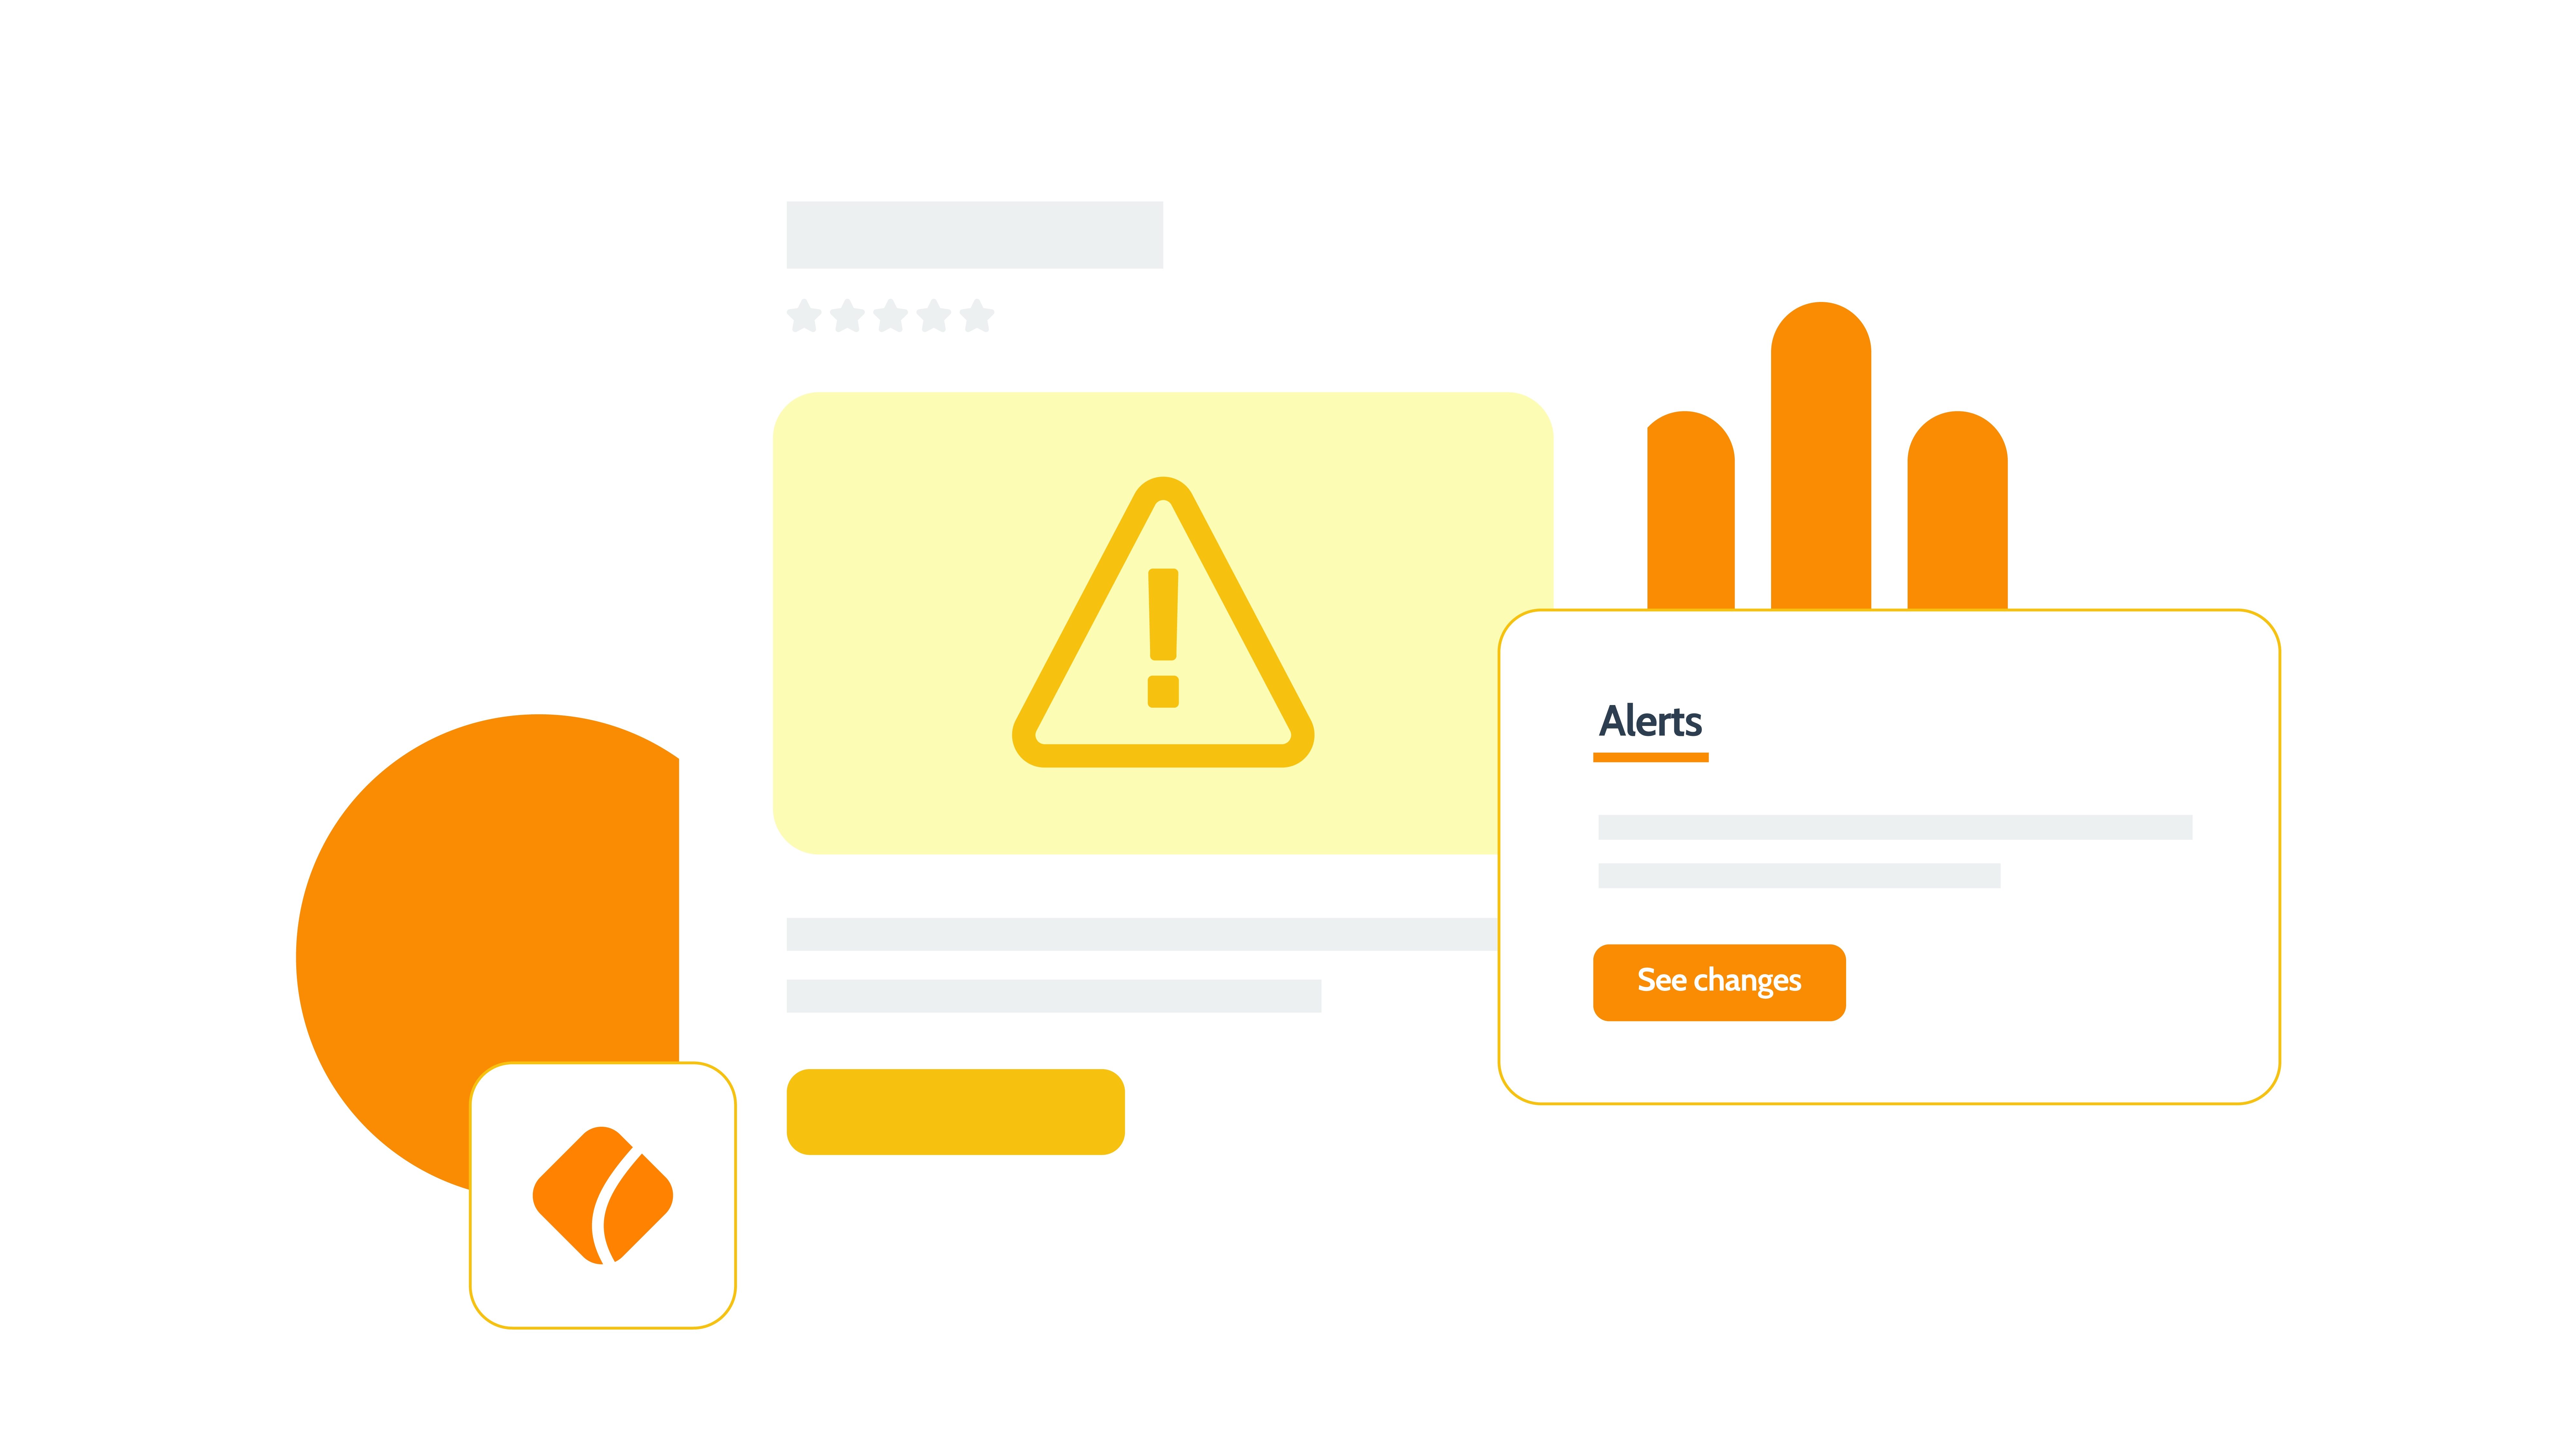
Alerts
Stop mistakes as they happen– and before they hurt your bottom line.
Get alerted to bulk changes to your products and set up custom alerts to ensure product pages remain accurate and live, 24/7.
Rewind Backups
Back up store changes as they happen – not just once a day.
Kick off an additional backup anytime you like.
Restore anything from a single item (e.g., image, blog post, description, etc.) to your entire store, exactly how you need it.
Get an email overview of your backups, or view the entire list in-app.

Rewind Monitor
Ensure key flows on your website, like the checkout, are always working as expected.
Get notified of drops in key store metrics and create QA testing flows to ensure your critical user journeys, like an add to cart, are always working as expected.
Get notified of any issues by email or Slack so you can act swiftly – before customers notice.

Rewind Alerts
Get real-time notifications of changes, allowing you to revert mistakes before they impact your sales.
Control how many product changes you consider high-volume.
Use the in-app list or download a report to see exactly what changed and when.

Simple pricing for all stores
1. Platform to back up
2. Select your pricing plan
How many Jira Users are in your organization?
* Jira Service Management and Jira Work Management are included in Rewind Backups for Jira Cloud.
Easy setup in minutes
Automated daily backups
365-day backup history
Unlimited cloud storage for backups
Fast, on-demand restores
Full backup coverage
Data residency and SSO support
30-day free trial
Easy setup in minutes
Automated daily backups
365-day backup history
Unlimited cloud storage for backups
Fast, on-demand restores
Full backup coverage
Data residency and SSO support
30-day free trial
Easy setup in minutes
Automated daily backups
365-day backup history
Unlimited cloud storage for backups
Fast, on-demand restores
Full backup coverage
Data residency and SSO support
Professional plan
$200
USD / month
$4.00 USD / user / month
Explore pricing tiersLess than $1.48 USD / user / month
30-day free trial
Easy setup in minutes
Automated daily backups
365-day backup history
Unlimited cloud storage for backups
Fast, on-demand restores
Full backup coverage
Data residency and SSO support
* All prices are subject to Rewind’s standard Terms and Conditions.
Customized Terms and Conditions will only be considered for annual contracts with a minimum monthly commitment of $3,000 USD.
Cloud app pricing overview
| Team size | Monthly per user |
|---|---|
| Up to 10 (Flat fee) | Free |
| 11-100 | USD 4.00 |
| 101-250 | USD 2.00 |
| 251-1000 | USD 1.65 |
| 1001-2500 | USD 1.50 |
| 2501-5000 | USD 1.40 |
| 5001-7500 | USD 1.35 |
| 7501-10000 | USD 1.25 |
| 10001-15000 | USD 1.10 |
| 15001-50000+ | USD 0.90 |
2. Select your pricing plan
How many Confluence users are in your organization?
Easy setup
Automated daily backups
365-day backup history
Unlimited cloud storage for backups
Fast, on-demand restores
Full backup coverage
Data residency
30-day free trial
Easy setup
Automated daily backups
365-day backup history
Unlimited cloud storage for backups
Fast, on-demand restores
Full backup coverage
Data residency and SSO support
30-day free trial
Easy setup
Automated daily backups
365-day backup history
Unlimited cloud storage for backups
Fast, on-demand restores
Full backup coverage
Data residency and SSO support
Professional plan
$150
USD / month
$3.00 USD / user / month
Explore pricing tiers30-day free trial
Easy setup
Automated daily backups
365-day backup history
Unlimited cloud storage for backups
Fast, on-demand restores
Full backup coverage
Data residency and SSO support
* All prices are subject to Rewind’s standard Terms and Conditions.
Customized Terms and Conditions will only be considered for annual contracts with a minimum monthly commitment of $3,000 USD.
Cloud app pricing overview
| Team size | Monthly per user |
|---|---|
2. Select your pricing plan
How many Bitbucket users are in your organization?
14-day free trial
Easy setup
Automated daily backups
Full backup coverage
365-day backup history
Unlimited cloud storage for backups
On-demand backup exports
Data residency and SSO support
14-day free trial
Easy setup
Automated daily backups
Full backup coverage
365-day backup history
Unlimited cloud storage for backups
On-demand backup exports
Data residency and SSO support
14-day free trial
Easy setup
Automated daily backups
Full backup coverage
365-day backup history
Unlimited cloud storage for backups
On-demand backup exports
Data residency and SSO support
14-day free trial
Easy setup
Automated daily backups
Full backup coverage
365-day backup history
Unlimited cloud storage for backups
On-demand backup exports
Data residency and SSO support
* All prices are subject to Rewind’s standard Terms and Conditions.
Customized Terms and Conditions will only be considered for annual contracts with a minimum monthly commitment of $3,000 USD.
2. Select your pricing plan
How many GitHub users are in your organization?
Limited to GitHub personal accounts only
Unlimited repository backups
30-day backup retention
GitHub metadata protection
On-demand recovery
AES-256 encryption
Up to 99 GitHub users
Unlimited repository backups
30-day backup retention
GitHub metadata protection
On-demand recovery
AES-256 encryption
Up to 99 GitHub users
Unlimited repository backups
30-day backup retention
GitHub metadata protection
On-demand recovery
AES-256 encryption
From 100 users/month
Everything included in Pro plan, plus…
Cloud storage location (See regions)
365 day backup retention
Restore assistance
Audit log of all activity
Cloud Sync – Azure
Cloud Sync – Amazon S3
SOC 2 Report with NDA
Git LFS backups* Early Access
Enterprise plan
$400.00
USD / month
$4.00 USD / user / month
Everything included in Pro plan, plus…
Cloud storage location (See regions)
365 day backup retention
Restore assistance
Audit log of all activity
Cloud Sync – Azure
Cloud Sync – Amazon S3
SOC 2 Report with NDA
Git LFS backups* Early Access
* All prices are subject to Rewind’s standard Terms and Conditions.
Customized Terms and Conditions will only be considered for annual contracts with a minimum monthly commitment of $3,000 USD.
2. Select your pricing plan
How many Azure DevOps users are in your organization? User counts are based on unique users and supports
Azure DevOps’ multi-organization billing.
14-day free trial
Easy setup
Automated daily backups
Full backup coverage
365-day backup history
Unlimited cloud storage for backups
Flexible, granular recovery options
On-demand backup exports
Data residency and SSO support
14-day free trial
Easy setup
Automated daily backups
Full backup coverage
365-day backup history
Unlimited cloud storage for backups
Flexible, granular recovery options
On-demand backup exports
Data residency and SSO support
14-day free trial
Easy setup
Automated daily backups
Full backup coverage
365-day backup history
Unlimited cloud storage for backups
Flexible, granular recovery options
On-demand backup exports
Data residency and SSO support
* All prices are subject to Rewind’s standard Terms and Conditions.
Customized Terms and Conditions will only be considered for annual contracts with a minimum monthly commitment of $3,000 USD.
2. Select your pricing plan
How many boards do you have?
Daily, automated backups
On-demand board, card, list and attachment recovery
Back up any time
Unlimited version history
Multi-user support
365-day backup history
Daily, automated backups
On-demand board, card, list and attachment recovery
Back up any time
Unlimited version history
Multi-user support
365-day backup history
All plans are month-to-month. Recurring charges, including monthly or usage-based charges, are billed every 30 days.
Have any questions? Contact sales
* All prices are subject to Rewind’s standard Terms and Conditions.
Customized Terms and Conditions will only be considered for annual contracts with a minimum monthly commitment of $3,000 USD.
2. Select your pricing plan
How many files do you manage? What does flexible pricing mean?
7-day free trial
Manage multiple client files
Daily comprehensive backups
Unlimited restores
365-day version history
Help center & email support
Back up anytime
Real-time backups
Multi-user support
7-day free trial
Manage multiple client files
Daily comprehensive backups
Unlimited restores
365-day version history
Help center & email support
Back up anytime
Real-time backups
Multi-user support
* All prices are subject to Rewind’s standard Terms and Conditions.
Customized Terms and Conditions will only be considered for annual contracts with a minimum monthly commitment of $3,000 USD.
2. Select your pricing plan
How many Miro users are in your organization?
14-day free trial
Easy setup
Automated daily backups
Full backup coverage
365-day backup history
Unlimited cloud storage for backups
Flexible, granular recovery options
On-demand backup exports
Data residency and SSO support
14-day free trial
Easy setup
Automated daily backups
Full backup coverage
365-day backup history
Unlimited cloud storage for backups
Flexible, granular recovery options
On-demand backup exports
Data residency and SSO support
14-day free trial
Easy setup
Automated daily backups
Full backup coverage
365-day backup history
Unlimited cloud storage for backups
Flexible, granular recovery options
On-demand backup exports
Data residency and SSO support
14-day free trial
Easy setup
Automated daily backups
Full backup coverage
365-day backup history
Unlimited cloud storage for backups
Flexible, granular recovery options
On-demand backup exports
Data residency and SSO support
* All prices are subject to Rewind’s standard Terms and Conditions.
Customized Terms and Conditions will only be considered for annual contracts with a minimum monthly commitment of $3,000 USD.
2. Select your pricing plan
Select your average monthly orders:
Automated daily backups
Unlimited restores
365-day backup history
Email & chat support
Anytime manual backups
Real-time backups
Metafields backups
Multi-user support
Comprehensive or granular restore
Shopify Translate & Adapt
Automated daily backups
Unlimited restores
365-day backup history
Email & chat support
Anytime manual backups
Real-time backups
Metafields backups
Multi-user support
Comprehensive or granular restore
Shopify Translate & Adapt
24/7 monitoring of key user journeys
Detect full or partial outages on Shopify
Detect outages on third-party apps
Insights into what’s gone wrong
Email & Slack notifications
GA4 store metrics monitoring
Bulk product change notifications
Email & SMS notifications
In-app view of triggered alerts
Downloadable change reports
Customizable alert thresholds
Backups Only – Enterprise
$299.00
USD / month
Includes backups for Klaviyo* and Mailchimp
Automated daily backups
Unlimited restores
365-day backup history
Email & chat support
Anytime manual backups
Real-time backups
Metafields backups
Multi-user support
Comprehensive or granular restore
Shopify Translate & Adapt
Protection Suite – Enterprise
$499.00
USD / month
Includes backups for Klaviyo* and Mailchimp
Automated daily backups
Unlimited restores
365-day backup history
Email & chat support
Anytime manual backups
Real-time backups
Metafields backups
Multi-user support
Comprehensive or granular restore
Shopify Translate & Adapt
24/7 monitoring of key user journeys
Detect full or partial outages on Shopify
Detect outages on third-party apps
Insights into what’s gone wrong
Email & Slack notifications
GA4 store metrics monitoring
Bulk product change notifications
Email & SMS notifications
In-app view of triggered alerts
Downloadable change reports
Customizable alert thresholds
All plans are month-to-month. Recurring charges, including monthly or usage-based charges, are billed every 30 days. For information on annual billing, please contact sales.
Have any questions? Get in touch.
* All prices are subject to Rewind’s standard Terms and Conditions.
Customized Terms and Conditions will only be considered for annual contracts with a minimum monthly commitment of $3,000 USD.
2. Select your pricing plan
Select your average monthly orders:
7-day free trial
Automated daily backups
Unlimited restores
Anytime manual backups
Real-time backups
Comprehensive or granular restore
Multi-user support
7-day free trial
Automated daily backups
Unlimited restores
Anytime manual backups
Real-time backups
Comprehensive or granular restore
Multi-user support
Multi-store ready
7-day free trial
Automated daily backups
Unlimited restores
Anytime manual backups
Real-time backups
Comprehensive or granular restore
Multi-user support
Multi-store ready
7-day free trial
Automated daily backups
Unlimited restores
Anytime manual backups
Real-time backups
Comprehensive or granular restore
Multi-user support
Multi-store ready
Enterprise plan
$349.00
USD / month
Includes backups for Klaviyo* and Mailchimp
7-day free trial
Automated daily backups
Unlimited restores
Anytime manual backups
Real-time backups
Comprehensive or granular restore
Multi-user support
Multi-store ready
Priority support
Stores with higher product counts may be ineligible for certain plans. Contact sales@rewind.com for more details.
All plans are month-to-month. Recurring charges, including monthly or usage-based charges, are billed every 30 days. For information on annual billing, please contact sales.
Have any questions? Get in touch.
* All prices are subject to Rewind’s standard Terms and Conditions.
Customized Terms and Conditions will only be considered for annual contracts with a minimum monthly commitment of $3,000 USD.
2. Select your pricing plan
How many Klaviyo active profiles do you have?
7-day free trial
Automated daily backups
365-day backup history
Unlimited cloud storage for backups
Data export
Easy setup in minutes
Restores on request
7-day free trial
Automated daily backups
365-day backup history
Unlimited cloud storage for backups
Data export
Easy setup in minutes
Restores on request
All plans are month-to-month. Recurring charges, including monthly or usage-based charges, are billed every 30 days. For information on annual billing, please contact sales.
Have any questions? Get in touch.
* All prices are subject to Rewind’s standard Terms and Conditions.
Customized Terms and Conditions will only be considered for annual contracts with a minimum monthly commitment of $3,000 USD.
2. Select your pricing plan
Select your average monthly orders:
Easy setup in minutes
Automated daily backups
365-day backup history
Unlimited cloud storage for backups
Restore on request
Full backup coverage
SSO support
7-day free trial
Easy setup in minutes
Automated daily backups
365-day backup history
Unlimited cloud storage for backups
Restore on request
Full backup coverage
SSO support
* All prices are subject to Rewind’s standard Terms and Conditions.
Customized Terms and Conditions will only be considered for annual contracts with a minimum monthly commitment of $3,000 USD.
“Protection Suite is definitely next-level. It represents a whole new generation of apps for Shopify merchants. Knowing you have your data backed up is critical, but catching issues in real-time and resolving them before they turn into problems is amazing!”
Paul RosenwaldDirector of Business Development at SeaMonster Studios


