Confluence is a remote-friendly team tool that’s helpful for creating knowledge bases and effectively structuring technical documentation within an organization. Confluence offers a useful feature called “spaces“, which helps you efficiently organize information within your Confluence instance. Spaces are similar to folders, where you can create and delete content. They make it easy to store and access relevant information in a flexible and organized way.
When you create a space in Confluence, you automatically become its default administrator and have the option to share it with teams or individuals for access or management purposes. However, this can introduce a potential issue: accidental deletions. For example, when multiple people are involved in managing a space, there is the risk that, during routine operations, a user might unintentionally delete a space from the Confluence instance. While such situations are rare, they can have detrimental consequences for your company’s knowledge base.
In this article, you’ll learn how to restore deleted spaces in Confluence so you can mitigate the impact of an accidental deletion. You’ll also learn how to prevent this problem in the first place and how an automated backup system can give you the reassurance you need in any situation.
How to restore deleted spaces in Confluence
By design, deleted spaces in Confluence can’t be recovered because deleting a space is a permanent change. You’ll even be warned of this in an error message when you go to delete a space:
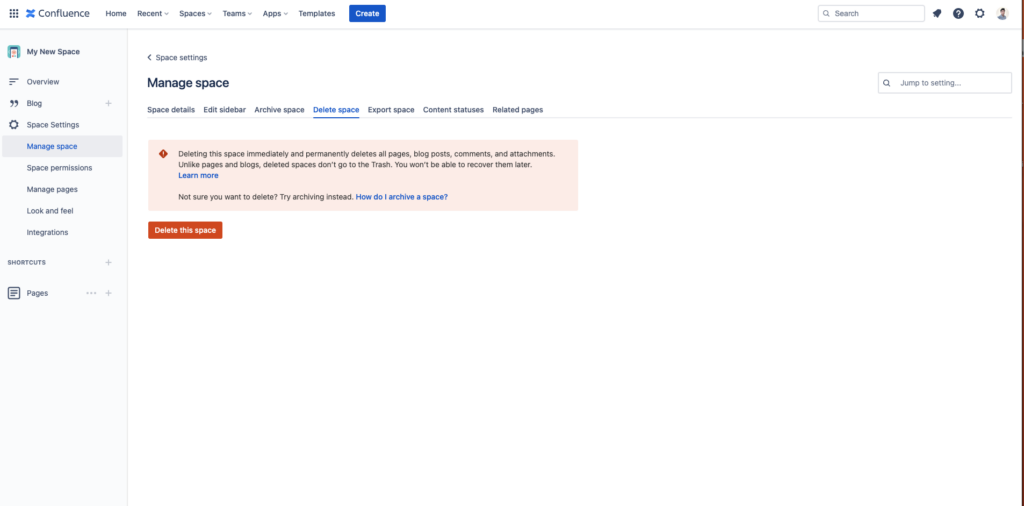
This is why you should never delete a space unless it’s absolutely necessary. However, there may be situations where you choose to delete a space and then want to access it later. Thankfully, with proper planning on your end, there’s a way to make this possible.
The first step, which we’ll talk about below, is setting up frequent backups of your Confluence data.
Regularly back up Confluence data
Just like with any other data storage solution, you should regularly back up your Confluence instance. An automated backup system like Rewind can be immensely helpful to address this concern.
Rewind can assist with periodic backups of your Confluence instance, ensuring that you always have access to the most recent data. This means that in the event of a deleted space, you can easily retrieve the last saved copy from the backup and restore it within your Confluence instance.
You can install Rewind Backups for Confluence as an Atlassian app in your Atlassian workspace. Once you’ve finished setup and configuration, Rewind will automatically take backups regularly on a recurring schedule. You can also kick off an additional backup using the Rewind interface as needed.
The most important thing to note is that you need to set up Rewind before accessing a deleted space. If you’ve already deleted a space before you back up your instance, you won’t be able to recover it.
How to prevent users from accidentally deleting spaces in Confluence
Because restoring deleted spaces in Confluence is impossible, preventing accidental deletions should be a priority. In the next section, you’ll learn a few ways to help you prevent or at least reduce accidental deletions.
Archive your spaces instead of deleting
Archiving is a great way to effectively remove a space from a Confluence workspace without actually deleting it. By archiving a space, you designate it as “Archived” and relocate it to a dedicated Archived folder, which remains hidden from the main Confluence workspace.
Archived pages and other data in an archived space can be viewed and modified based on your space’s permissions. For instance, if you’ve labeled your spaces, then your archived spaces will appear under the label you gave them. Additionally, external search engines like Google can reference archived spaces and their data.
How to archive a space
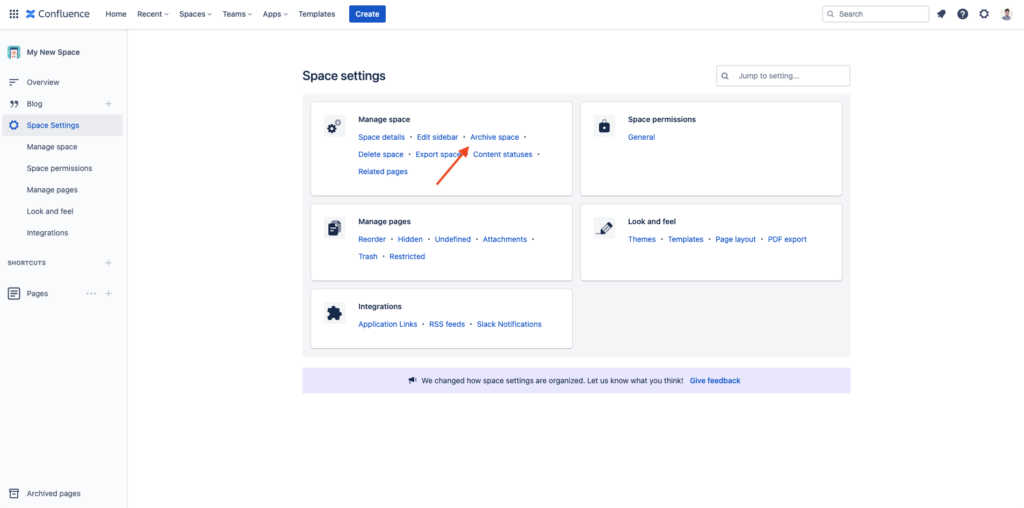
Thankfully, archiving a space is easy. To do so, navigate to a space and click on the Space Settings in the left sidebar:

This action takes you to the Space Settings page. Click on the Archive space hyperlink in the card titled Manage Space:
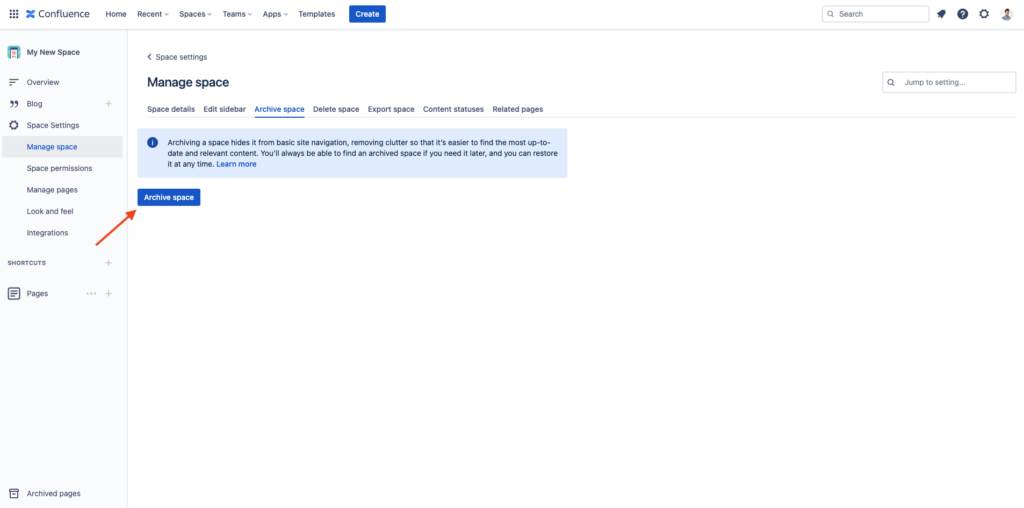
This action takes you to the first confirmation page for archiving the space. Click on the Archive space button:
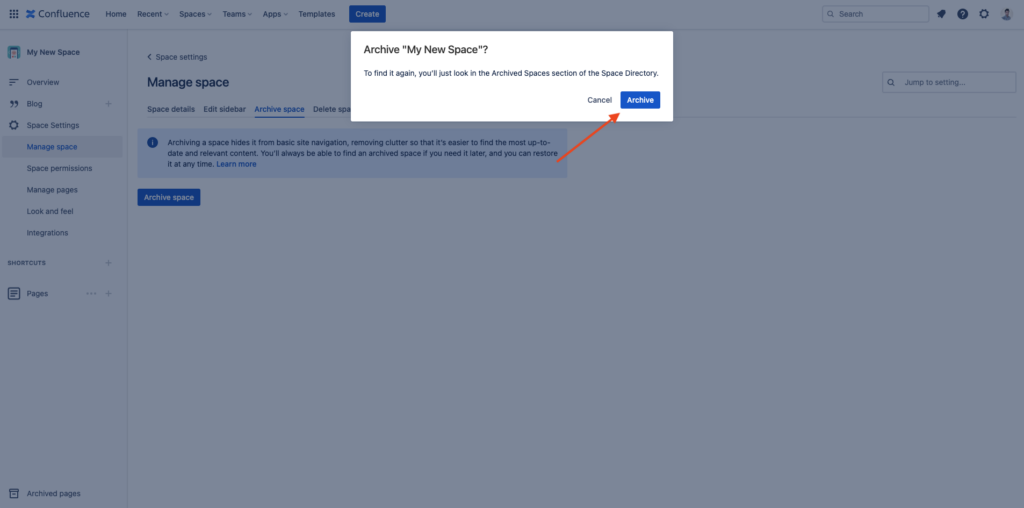
A final confirmation dialog will appear asking if you really want to archive the space. Click on the Archive button to complete the operation:

Once selected, your space will be archived and you’ll receive a confirmation message at the bottom of your screen:
To confirm that the space has been archived, navigate to the spaces directory by clicking on Spaces > View all spaces:
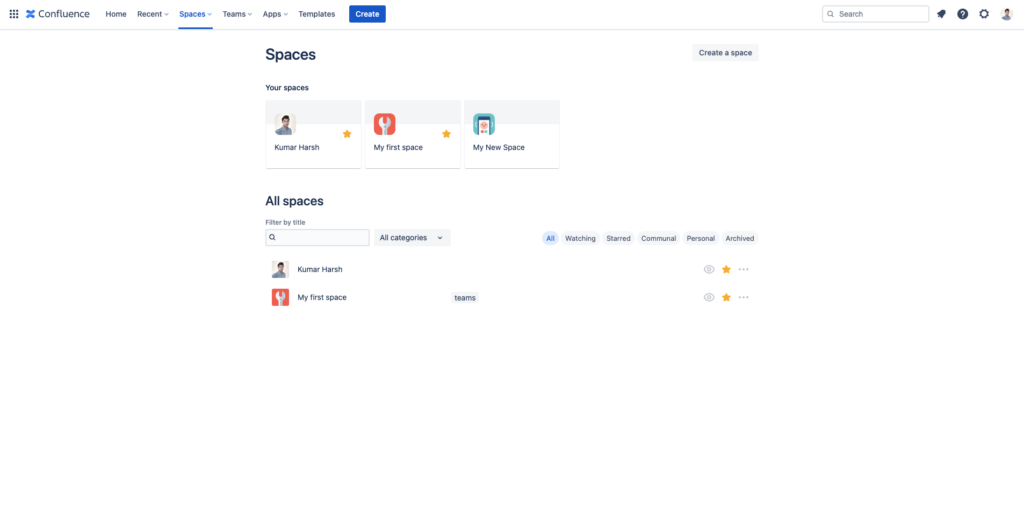
The space should no longer be in the list of All spaces.
To view a list of your archived pages, click on the archived chip:
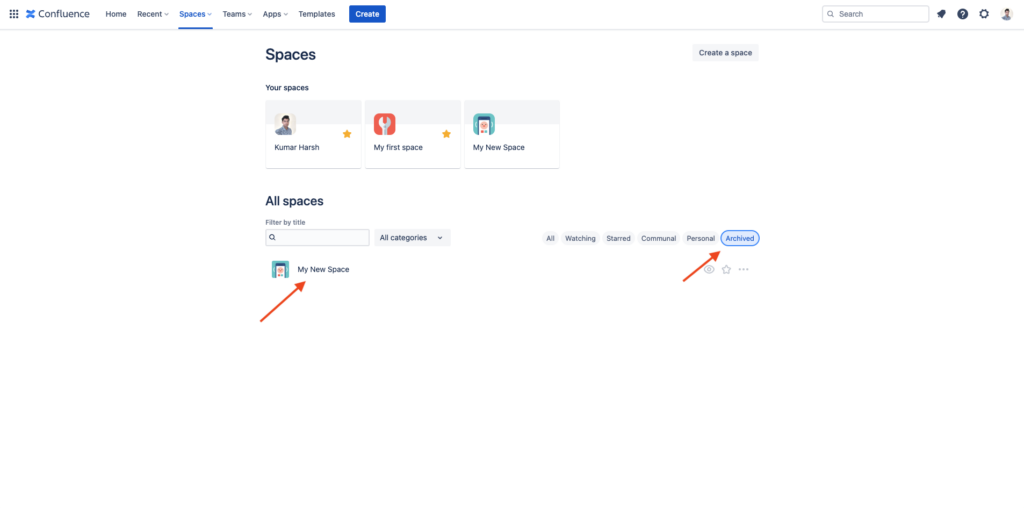
Via this chip, you can access all your archived spaces.
Please note: You’ll notice that your spaces appear in the list of cards under Your spaces at the top of the screen. This is because since you’re the creator and admin of the space, they’ll show up irrespective of whether it’s archived or not. This can help you quickly find a frequently used space that was archived.
How to restore an archived space
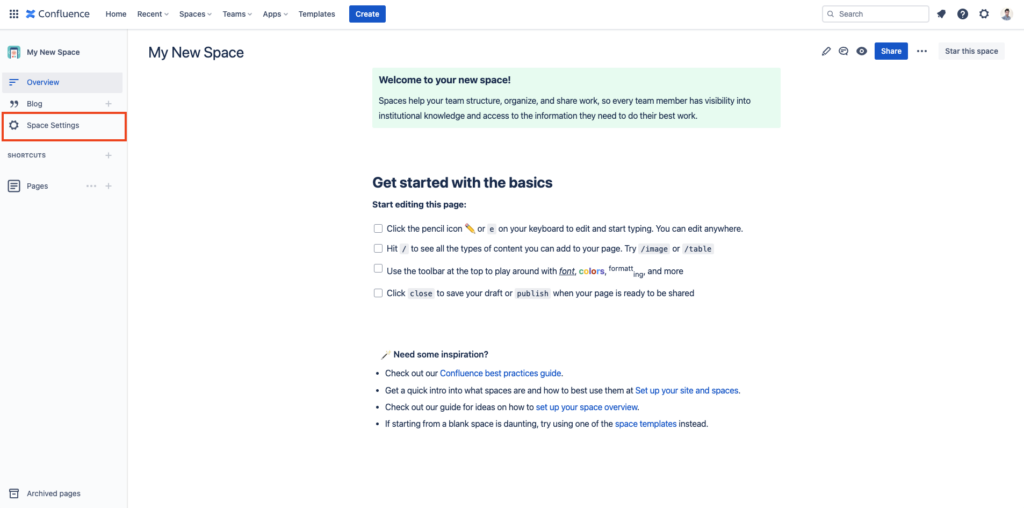
Restoring an archived space is a similar process. Start by navigating to the space’s homepage (you can find it under the Archived filter in the spaces directory, as shown previously). Select Space Settings in the left sidebar:
On the Space Settings page, click on the Archive space hyperlink in the card titled Manage Space:

The Archive space tab will present you with the following confirmation:
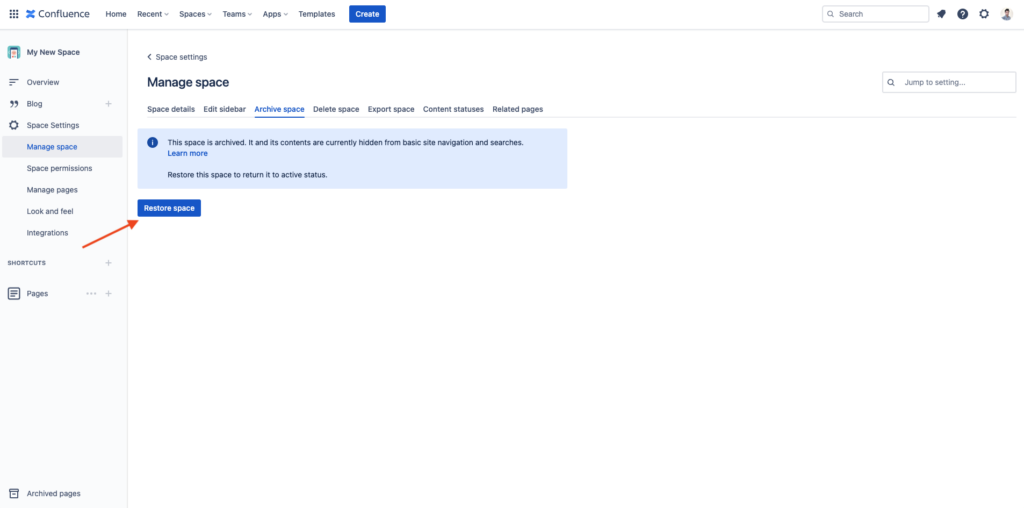
Click the Restore space button to unarchive the space. Once you click it, the space will be restored, and you’ll receive a confirmation message at the bottom of the screen:
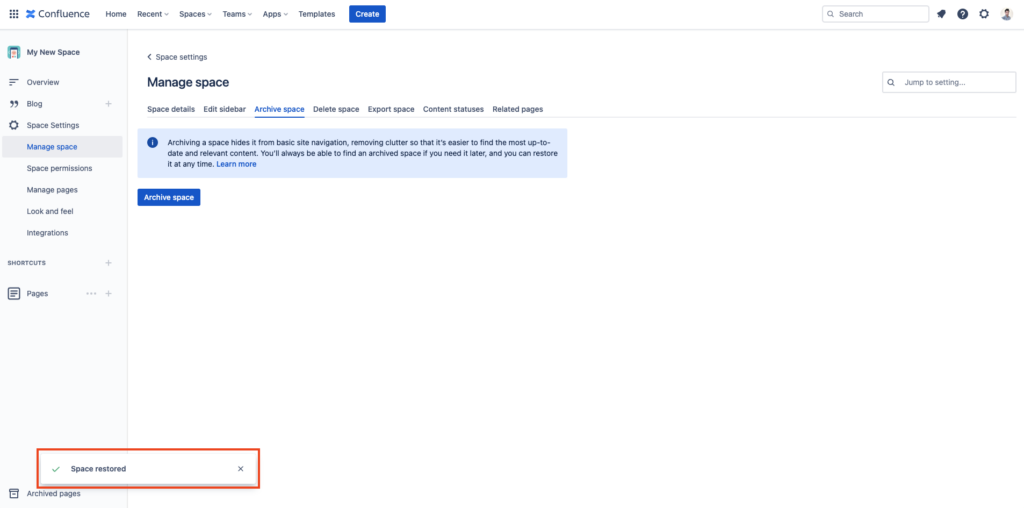
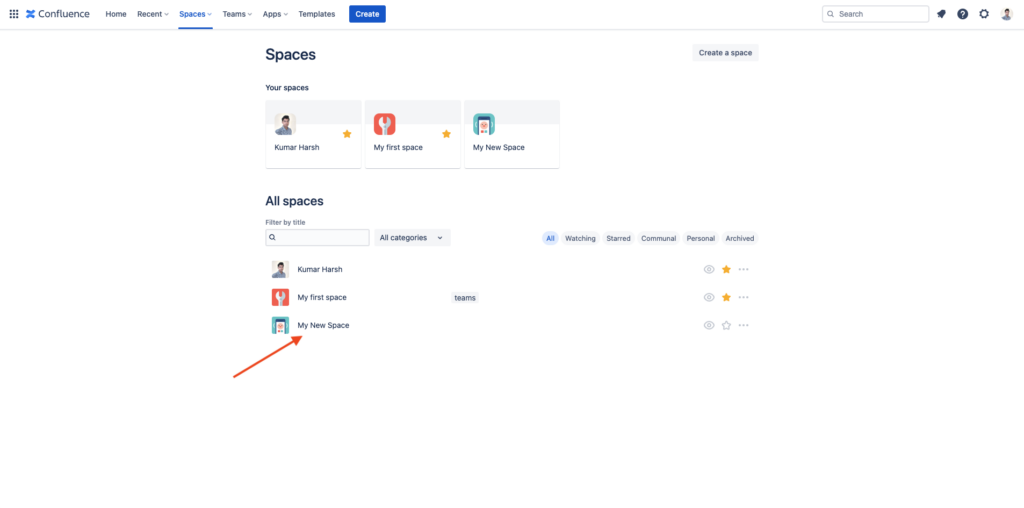
To find the restored space, navigate to your spaces directory, and you should find the restored space in the list of All spaces:
Set up space permissions
Confluence offers space permissions to prevent other users from accidentally deleting a space. With space permissions, you can control and manage user access within each space. This allows you to grant or restrict users from making changes to the constituents of the space, including pages, blogs, comments, and attachments. The space permissions screen also lets you choose who can export a space or act as the admin.
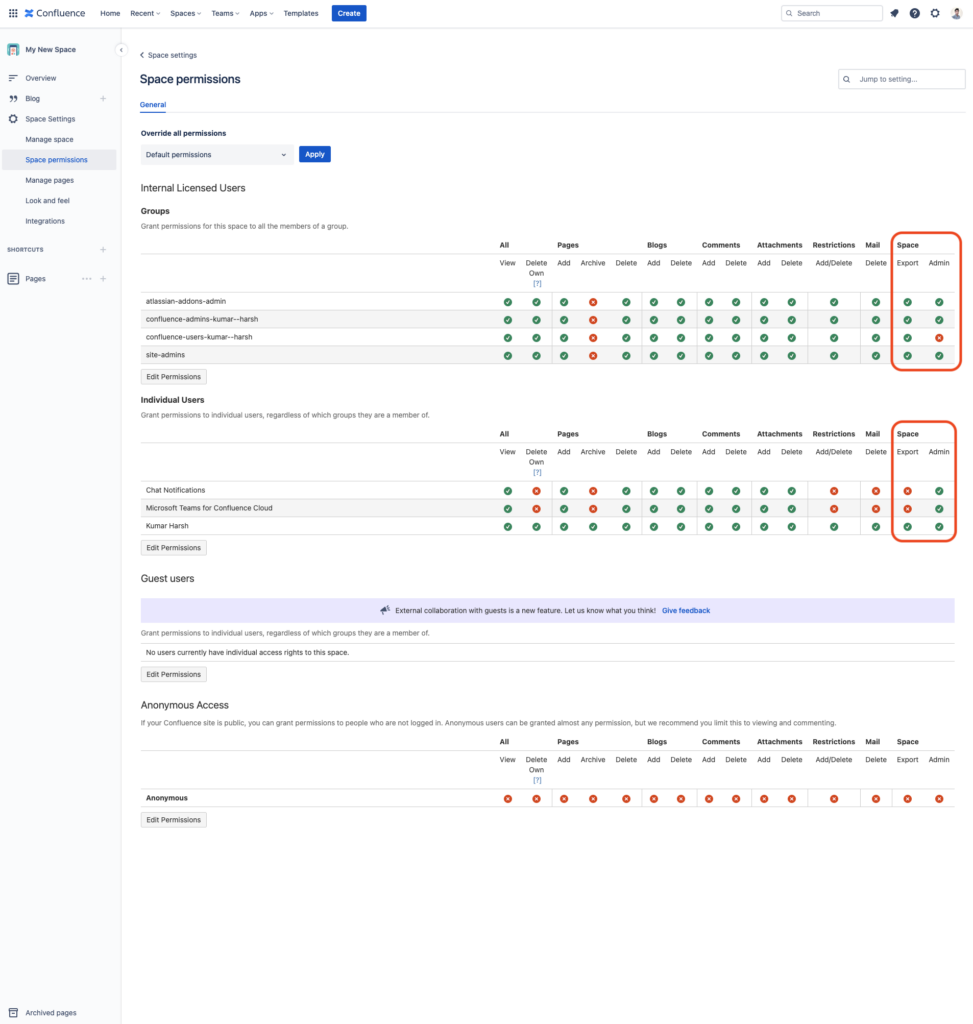
Please note: People with admin rights can still delete your space. It’s best practice to implement the other practices included in this guide as well as restrict user permissions.
Educate your users
One of the best ways to handle accidental deletions is with better awareness regarding deletions and their impact on company resources. With other elements like pages and blogs, there are trash bins that you can look into for quick restoration of accidental deletes. But when you delete a space, it’s final and irreversible, which must be clearly communicated with your team members.
It’s also a good idea to discuss the most suitable alternative approach—archiving. Consider making it a rule to not delete a space unless there is express permission from a particular team member, and only archive spaces that are no longer needed. Moreover, you can set up a review schedule, maybe once a quarter, reviewing everything that has been archived for more than a set duration of time. In that meeting, you can decide whether it needs to be permanently deleted. This ensures that any accidental archivals can be easily undone before being permanently deleted.
Finally, it’s important to communicate to your team about the backup systems you’ve implemented. This awareness can provide them with reassurance, knowing that in the event of a mistake, there’s a reliable method to rectify it. This leads us to the most important tip: you need to back up your Confluence data. Atlassian specifically states in their Cloud Terms of Service that “We are not responsible for any of your data lost, altered, intercepted or stored.”
Back up your data
As mentioned previously, regularly backing up your Confluence instance is essential to prevent data loss from accidental deletions. Atlassian, the provider of Confluence, takes no responsibility for the data you create in your individual instance. Tools like Rewind offer automated backups and scheduling, providing reassurance and easy recovery options for your Confluence spaces.
How to restore a space in Confluence with Rewind
Since Rewind Backups for Confluence takes a complete backup of all your Confluence data daily, it’s simple to restore a space and any associated pages, blogs, and comments. Even if a space has been deleted (not archived), you can use Rewind to restore it.
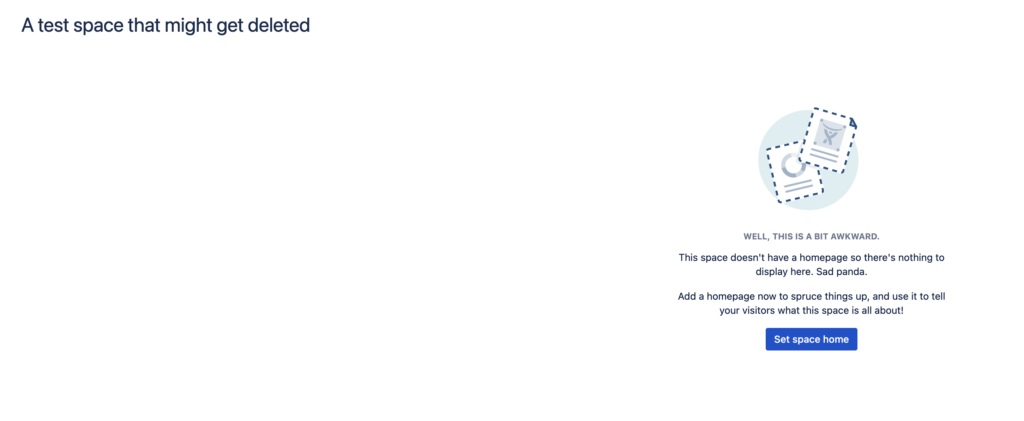
Here is a sample space that’s been deleted.
Step 1: Initiate the restore
To restore your deleted space in Confluence, you first need to log in to your Rewind account. You’ll see a list of all the data items currently being backed up by Rewind. Hover over the space you want to restore and click the purple Restore button.

Step 2: Set the parameters of your restore
After locating the data you need to restore, you need to determine the parameters: how far do you need to roll the data back? Using the calendar pop-up, enter the date you’d like to restore to. For example, if you accidentally deleted the space on Tuesday, use Rewind to restore the space as it was on Monday.
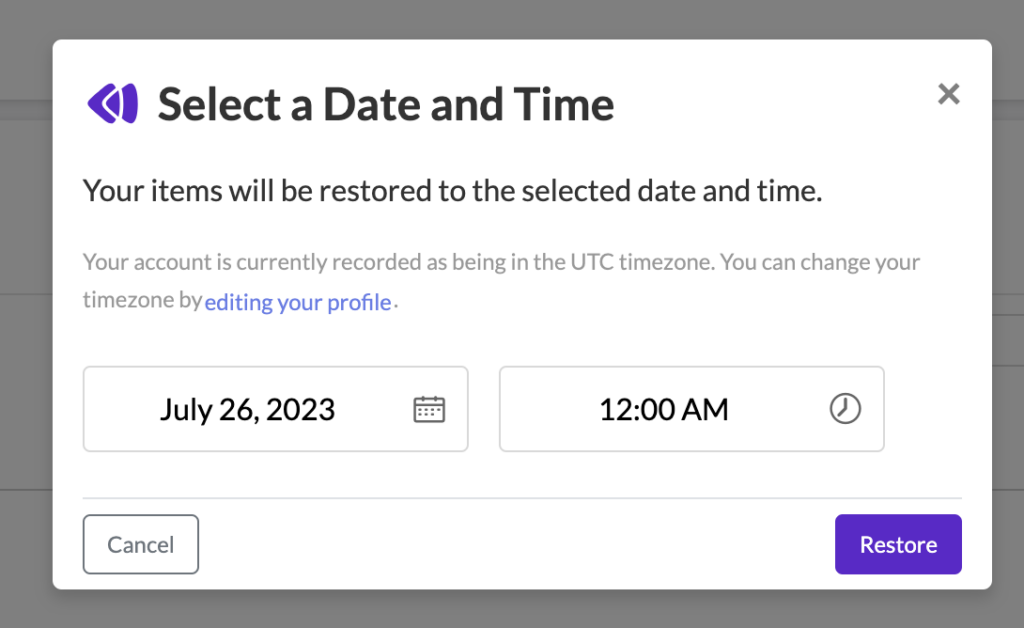
After you’ve selected the date and time you’d like to restore to, click on Restore again.
Step 3: Confirm the restore
Next, review the details of your restore to ensure they are correct. You cannot undo a restore, so double-check the date and time are before the incident occurred.
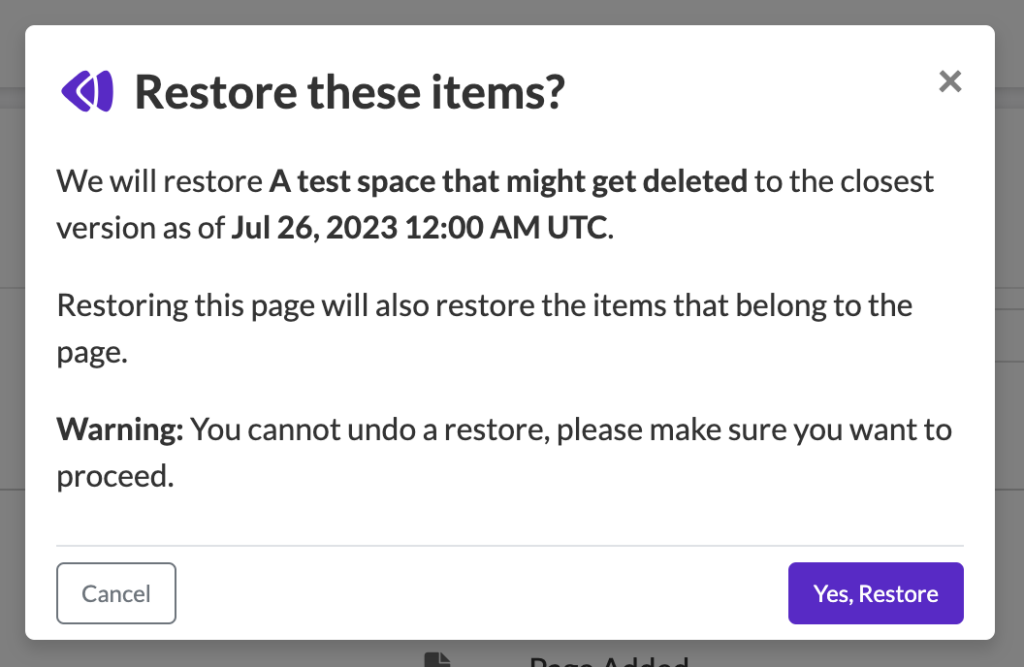
Once you’ve confirmed the details of your restore, it will begin. Depending on the size of the data you are trying to restore, this can take a few moments. You’ll be notified by email when the restore is complete.
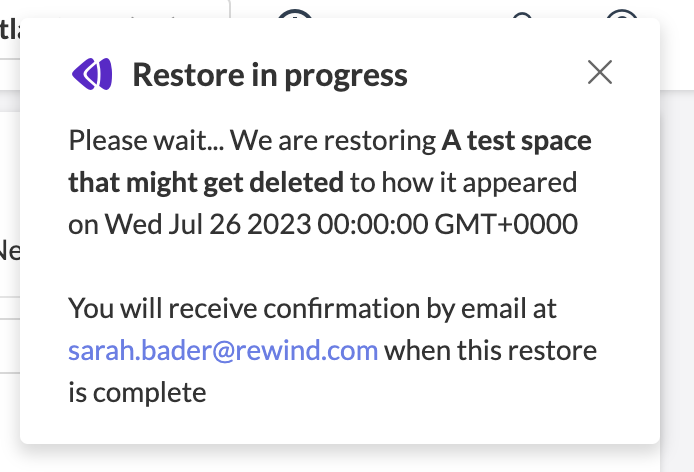
After you’ve received email notification that your restore is complete, log back in to Confluence and your previously deleted space will be returned.
Conclusion
Unfortunately, restoring deleted spaces is not supported by Confluence. However, there are proactive measures you can take to protect your data.
Regularly backing up your instance is paramount to ensure data safety. Using a tool like Rewind is highly recommended as it allows for frequent backups and offers on-demand restoration services for SaaS apps. Rewind not only supports Confluence but also provides data backup services for other Atlassian services like Jira, Trello, and Bitbucket.
How many Confluence users are in your organization?
Advanced
Compliance, control, and governance
$150
USD / month
$3.00 USD / user / month
Start free trialAdvanced
Compliance, control, and governance
$150
USD / month
$3.00 USD / user / month
Start free trialAdditionally, adopting habits like archiving instead of deleting, implementing stringent permissions, limiting admin rights to a select few, and educating team members can greatly reduce the likelihood of accidental deletions and mitigate reckless mistakes. Backups can rescue your spaces in case of deletion, and ensure your Confluence data security.
 Sarah Bader">